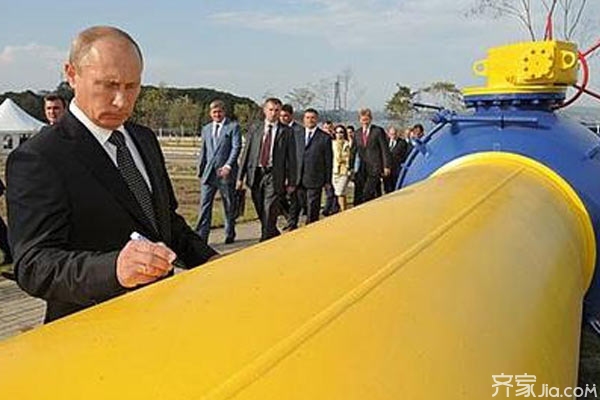
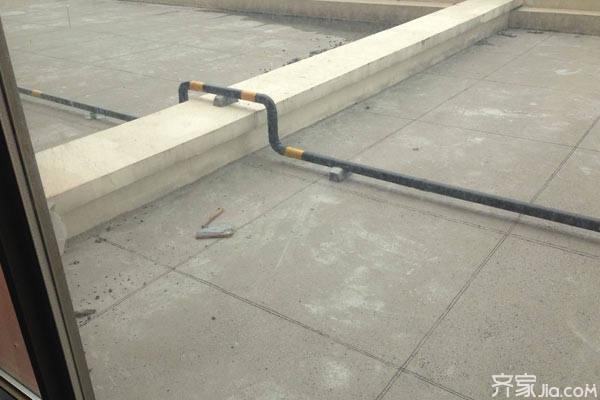
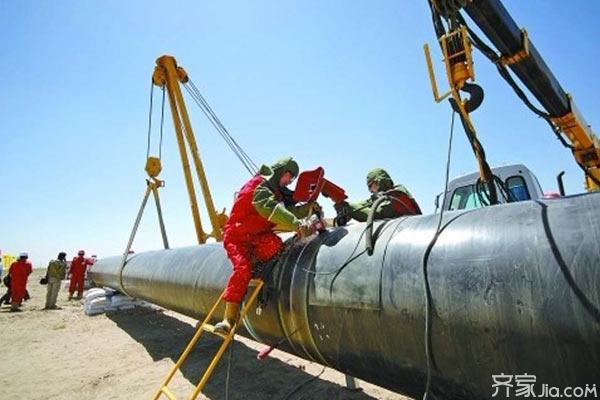
With the improvement of people's living standards, there are more and more people using the natural gas in the community. Many people know natural gas, but do not understand how natural gas pipelines are installed. Today, Xiao Bian gave everyone the knowledge of Copcope to see what steps were taken to install the gas pipeline .

Natural gas pipeline installation
First, the process
Preparation for installation → Prefabrication → Pipe installation → Stand installation → Branch installation → Valve and gas meter installation → Strength and tightness test → Pipe cleaning → Anti-corrosion, brushing
1 , operation method
1.1 Preparation for installation, familiar with the drawings, construction measures according to the construction plan and concrete measures of technical disclosure. Prepare the work. Refer to the relevant professional equipment drawings and decoration building drawings. Check whether the coordinates and elevation of various pipes are crossed. Timely study and solution of design and related personnel, do a good job in changing and negotiating records, in the construction stage, cooperate with civil engineering to reserve holes, casings and embedded parts.
1.2 Prefabricated processing: According to the design drawings, the construction sketches of the pipeline shunting, pipe diameter, adjustable diameter, reserved nozzle, valve position, etc. shall be marked on the actually installed structural position, and the actual size of the actual installation shall be measured according to the marking section. , Draw on the construction sketch, and finally perform the prefabrication according to the sketch. The thread feeding amount of the tube thread should not be too large. Adjust the dial to increase the feeding amount and then set it again. The general requirement is: DN<25 can be nested once. DN25-40mm should be set twice. DN ≥ 50mm divided into three sets, the thread may not have tangled silk, biased wire, burr and other defects, fracture and notch portion shall not exceed 10% of the entire wire, screw tightness should be appropriate.
2 , dry tube installation
2.1 Install the card holder and install it according to the design requirements or specifications. When the elevators are installed, first put the hanging sticks on the steel brackets according to the direction of the slope and the order. The rings are sleeved on the pipes according to the spacing, and then the pipes are lifted and put on the bolts to screw on the nuts to fix the pipes. On the pipe on the mounting bracket, first place the pipe on the bracket, install the U-shaped card on the first pipe, and then install the second pipe. After that, proceed with the pipe joints and fasten the bolts.
2.2 The indoor pipe installation should generally install the introduction of the pipe, after installing the riser, horizontal pipe, branch pipe and so on. When an indoor horizontal pipe encounters an obstacle and a straight pipe cannot pass through, it may take a bend or use a pipe to bypass an obstacle such as a duck neck bend, a grab bend, or a 45° 90° elbow. When the walls of two floors are not on the same plane, they should be laid in "back and forth."
3 , riser installation
3.1 Check whether the position of the hole reserved in each layer is vertical, suspend the line, tick the eye, and plant the clip. Prefabricated pipes are transported to the installation site in numerical order.
3.2 Remove the valve cover before installation. There is a steel sleeve that is threaded onto the pipe first, and the installation starts from the first section according to the number. Coated with lead oil wrapped in mahjong riser aligned interface rotation into the deduction, a pipe wrench bite the pipe fittings, a pipe wrench twisted pipe, screw to the appropriate degree of elasticity, align alignment marking requirements, thread buckle exposed 2-3 deduction, pre Keep your mouth square and clean your head.
3.3 Check whether the elevation, direction, etc. of each reserve port of the riser are accurate and flat. Releasing the pre-planted pipe clamps, tighten the bolts into the card, and use the hangers and wire ropes to find the verticality from the first section, straighten the steel casing, and finally fill the holes with civil construction. The mouth must be temporarily plugged. The installation orientation of the riser door should be easy to operate and repair.
3.4 The gas riser is generally laid in the kitchen or in the stairwell. When the diameter of the indoor riser pipe is not more than 50mm, a joint is usually installed on every floor of the riser, and the position is not less than 1.2m from the ground. In case of a valve, a union must be installed. The position of the union should be located behind the valve. Pipes with a diameter of >50mm may not have a union.
4 , branch installation
4.1 Check whether the gas meter installation position and the standpipe reserve port are accurate. Measure the size of the branch tube and the size of the fork bend.
4.2 Install the branch pipe, measure the size of the branch pipe, and then break the pipe, set the wire, and turn it on fork bending and straightening. Fix the oil fork by bending the fork or two ends of the short tube and install the oil. Fill the gas meter and clean the head.
4.3 Use steel ruler, level ruler and wire drop to calibrate the slope of the branch pipe and the size of the parallel distance wall, and check whether the riser and the gas meter are moving. After passing the qualification, replace the gas meter with the branch pipe. According to the design or specification pressure system pressure test and purging, purging after passing the removal of the connecting pipe before the completion of the installation of gas meters. After passing the acceptance procedures.

5 , gas meter installation
5.1 The installation location of the user's metering device should meet the following requirements
5.2 should be installed in a non-combustible structure in a well-ventilated place.
5.3 It is forbidden to install it in the bedroom, bathroom, dangerous goods and flammables, and similar to the above.
5.4 The metering device for gas production in public buildings and industrial enterprises should be set up in a separate room.
5.5 The working temperature of the installation of the septum table should be higher than 0 °C.
5.6 The installation of the gas meter shall meet the requirements for meter reading, inspection, maintenance and safe use. When the gas meter is installed above the gas cooker, the horizontal distance between the gas and gas stove must not be less than 30cm.
5.7 Before the gas meter is installed, there should be a factory qualified owner and manufacturer's production license. The table is tested by a statutory inspection unit. The date of manufacture shall not exceed 4 months. If exceeding, the statutory inspection unit shall be inspected. At the same time no obvious damage.
5.8 Households Each household should have one gas meter, collective, business, and business user. Each independent accounting unit should have at least one meter.
5.9 During the process of gas meter installation, collision, inversion and knocking shall not be allowed. Rust, impurity, oil and other substances shall not be allowed to fall into the instrument.
6. Test pressure of indoor gas pipeline
6.1 Compressed air and nitrogen should be used for gas pipeline pressure test and purge.
6.2 Test scope. The pressure test is from the total valve of the air inlet pipe to the pipe section between each heartbeat switch. The gas meter was not included in the test, and a short pipe was used to temporarily connect the pipeline at the loading department. Tightness test, adding all cooker equipment within the above range.
6.3 In-house gas pipeline strength test pressure is 0.1Mpa (not including tables and stoves) All joints are smeared with soap solution and airtightness is qualified. Tightness test: Before pressure is observed with 7000Pa pressure, the pressure drop is not more than 200Pa. Qualified, connected to the gas meter with 3000Pa pressure observed 5min pressure drop does not exceed 200Pa as qualified.
6.4 Strength test of gas pipelines in public buildings Pressure: Low-pressure gas pipelines are 100 Kpa (excluding tables and stoves). The medium-pressure gas pipeline is 150Kpa (not including tables, stoves). It is qualified to wipe all joints with soap liquid. Tightness test: The test pressure of the low-pressure gas pipeline is 7000Pa. Observe that the pressure drop of 10 minutes does not exceed 200 Pa to be qualified. The medium pressure gas pipeline pressure is 100Kpa for 3 hours to observe the pressure for 1 hour, and the pressure drop is not more than 1.5% to be qualified. Gas meter does not do strength test, only tightness test, pressure 3000pa, 5min pressure drop does not exceed 200pa as qualified.
7 , after the rust treatment of indoor gas pipelines and accessories, a brush anti-rust paint, silver paint two.
8. Residents use stoves to install
9 , public building users stove installation

Here the installation of natural gas is almost complete, of course, there are some details, because Xiaobian data is limited, Xiaobian did not write so clearly. For more information on the installation of natural gas pipelines, please continue to pay attention to the information on this site.
Construction Installation Renovation Installation Pipeline Heating Installation Pipe Leakage
Fire Doors With Windows,Fire Rated Glass Door,Fire Rated Door With Window,Internal Fire Door With Glass
Foshan QI'AN Fireproof Shutter Doors Co., Ltd , https://www.fsqianfiredoor.com
